- Published on
Mastering Your Flutter App with Flavours
- Authors

- Name
- Zia Ur Rehman
- @imziaopriday

As a Flutter developer, you're constantly striving to build efficient and adaptable applications. But managing multiple app versions or environments can quickly become a challenge. Fear not! Flutter flavors come to the rescue, offering a powerful way to streamline your development process.
What are Flutter Flavors?
Imagine a single codebase that magically transforms into different app versions. That's the beauty of flavors. They allow you to define variations of your Flutter app, each tailored for a specific purpose. Common use cases include:
- Environment Configurations: Develop, stage, and production environments with distinct configurations (e.g., API URLs, logging levels).
- App Versioning: Create free and paid versions, or cater to different regions with localized content.
- Feature Flags: Experiment with features by enabling or disabling them selectively for different flavors.
The Benefits of Flavors
- Maintainability: Manage a single codebase, reducing boilerplate code and streamlining development.
- Efficiency: Effortlessly switch between environments or app versions during testing and deployment.
- Configuration Management: Isolate configuration details for each flavor, preventing accidental mix-ups.
- Testing Flexibility: Simplify testing by targeting specific flavors with tailored test cases.
Getting Started with Flavors
Here's a quick setup process for both ios and android:
Flavor Configuration Dart Files:
- Create a new folder named
flavorsat the root of your Flutter project. - Inside
flavors, create separate Dart files (e.g.,dev.dart,prod.dart) for each flavor. - In these Dart files, define variables or functions specific to each flavor. These can include:
- API URLs (development, staging, production)
- App names (different branding)
- Colors (theming variations)
- Feature flags (enable/disable features)
- Firebase project IDs (connect to different projects)
Platform-Specific Configuration:
Android:
- Locate the
android/app/build.gradlefile. - Flavors Configuration in build.gradle.
- Add / modify the following code block inside android block.
    flavorDimensions "default"

    productFlavors {

        prod {
             resValue "string", "app_name", "Flavor-Prod"
        }

        dev {
            resValue "string", "app_name", "Flavor-dev"
            applicationIdSuffix ".dev"
       }
   }
Launch Configurations:
VSCODE: create .vscode folder at root of project directory inside this folder create lauch.json file and add configurations below:
{
    "version": "0.2.0",
    "configurations": [
        {
            "name": "dev",
            "request": "launch",
            "type": "dart",
            "program": "lib/dev.dart",
            "args": [
                "--flavor",
                "dev",
                "target",
                "lib/dev.dart"
            ]
        },
        {
            "name": "prod",
            "request": "launch",
            "type": "dart",
            "program": "lib/prod.dart",
            "args": [
                "--flavor",
                "prod",
                "target",
                "lib/prod.dart"
            ]
        },
    ]
}
iOS Configuration (Xcode):
- Open your Flutter project in Xcode.
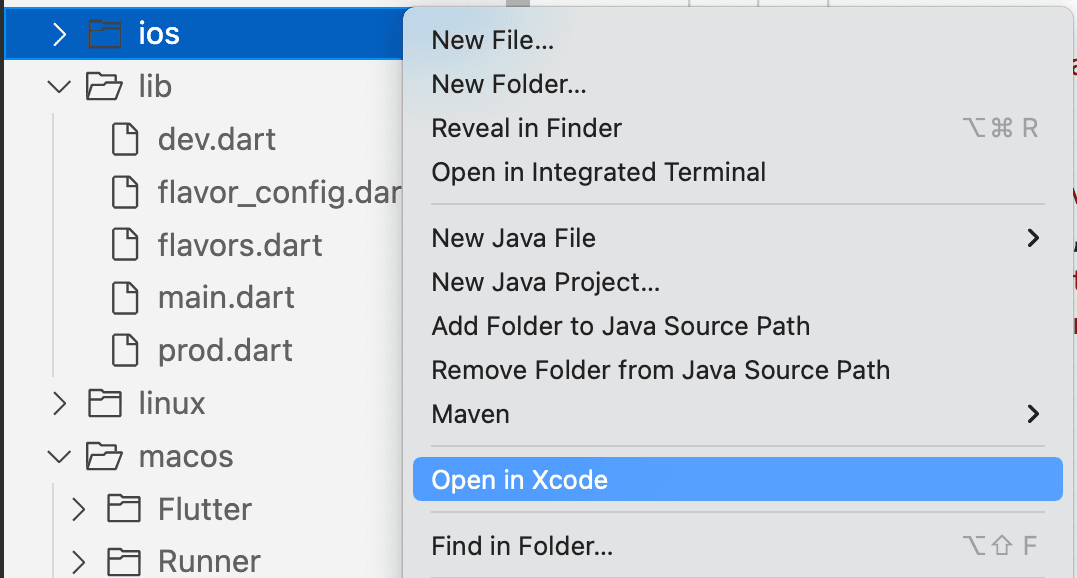
- Go to Product -> Scheme -> Manage Schemes.. to create a new scheme for each flavor.
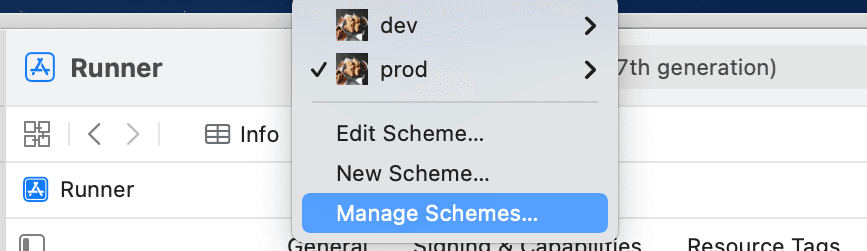
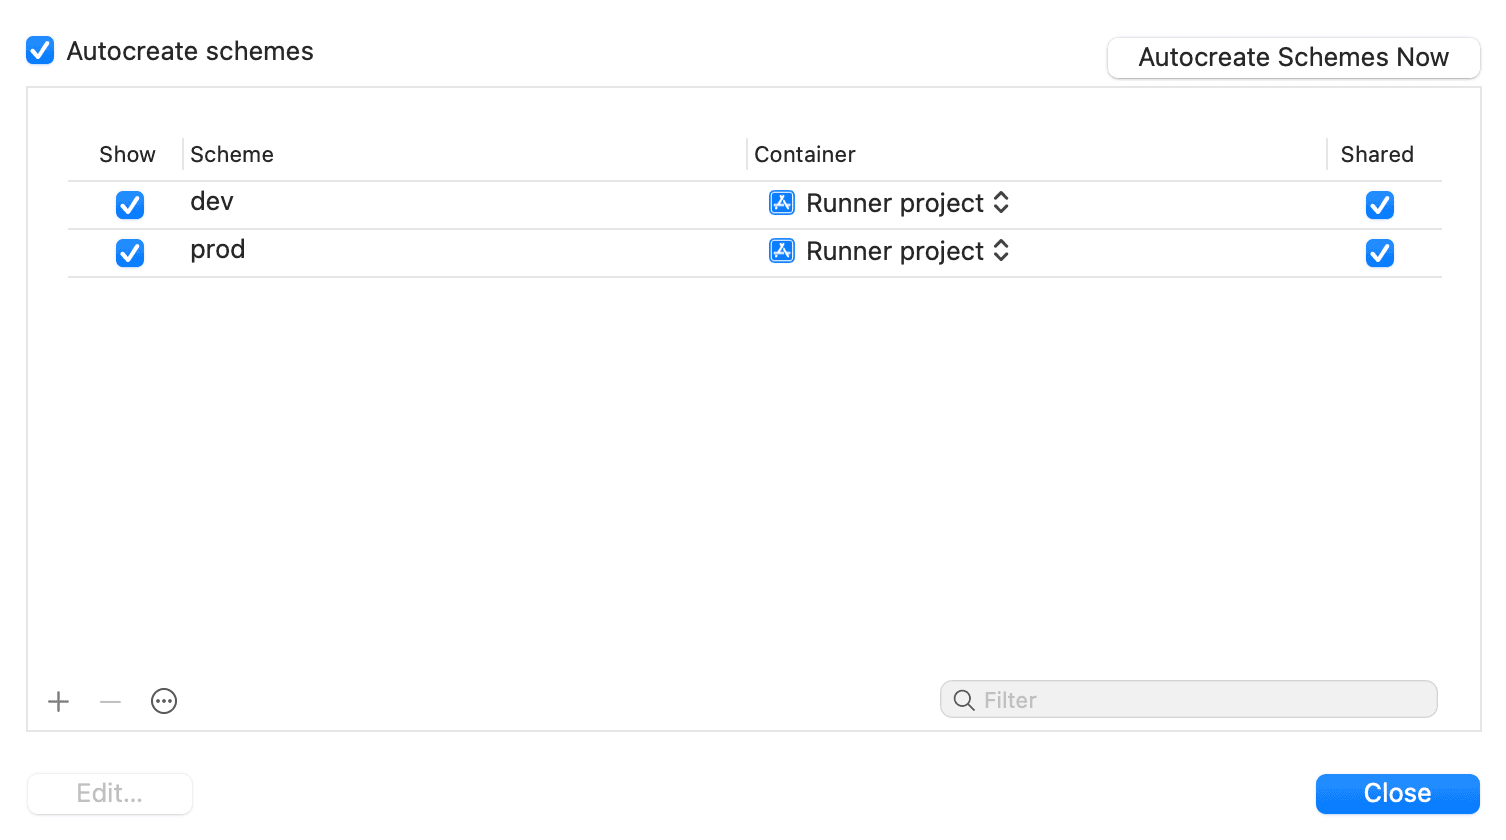
- Open manage Schemes to create a new scheme (+) for each flavor. by pressing plus button ' + ' located at button left corner.
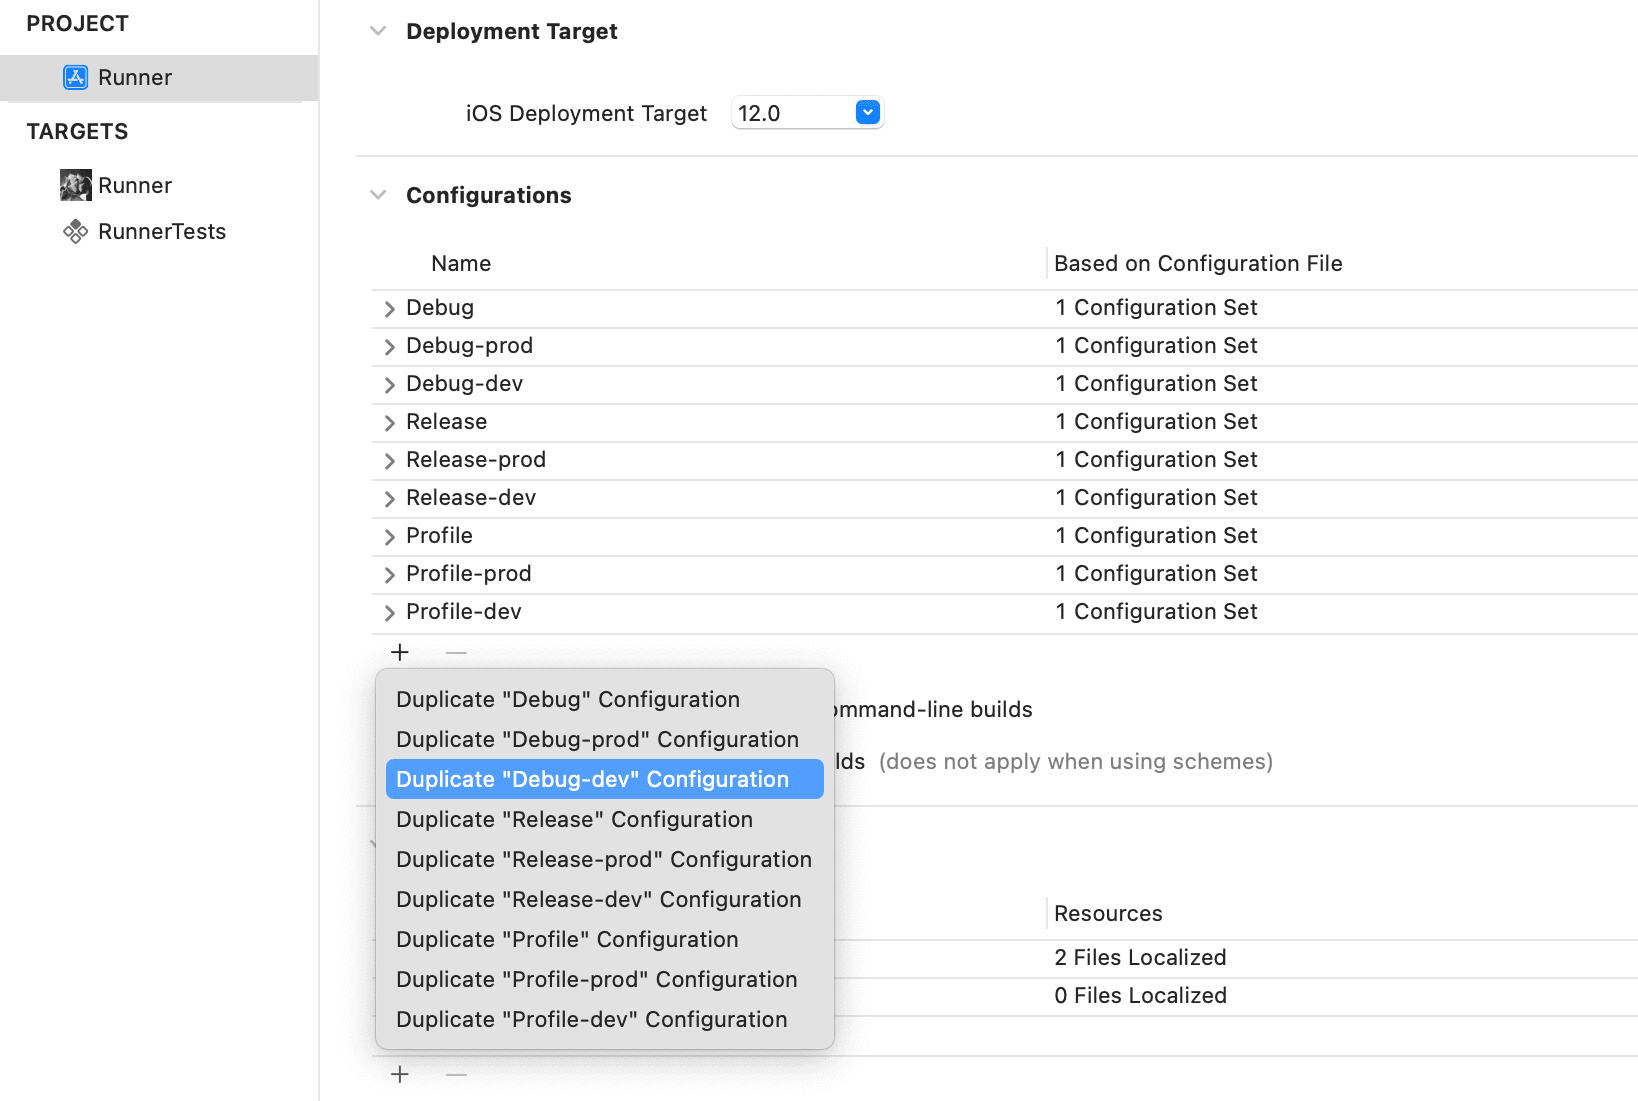
- Buid Configurations: Duplicate the default build configurations(Debug, Profile, Release). for each scheme (matching flavor names): got to → Runner(Proj-level) → info → Configurations
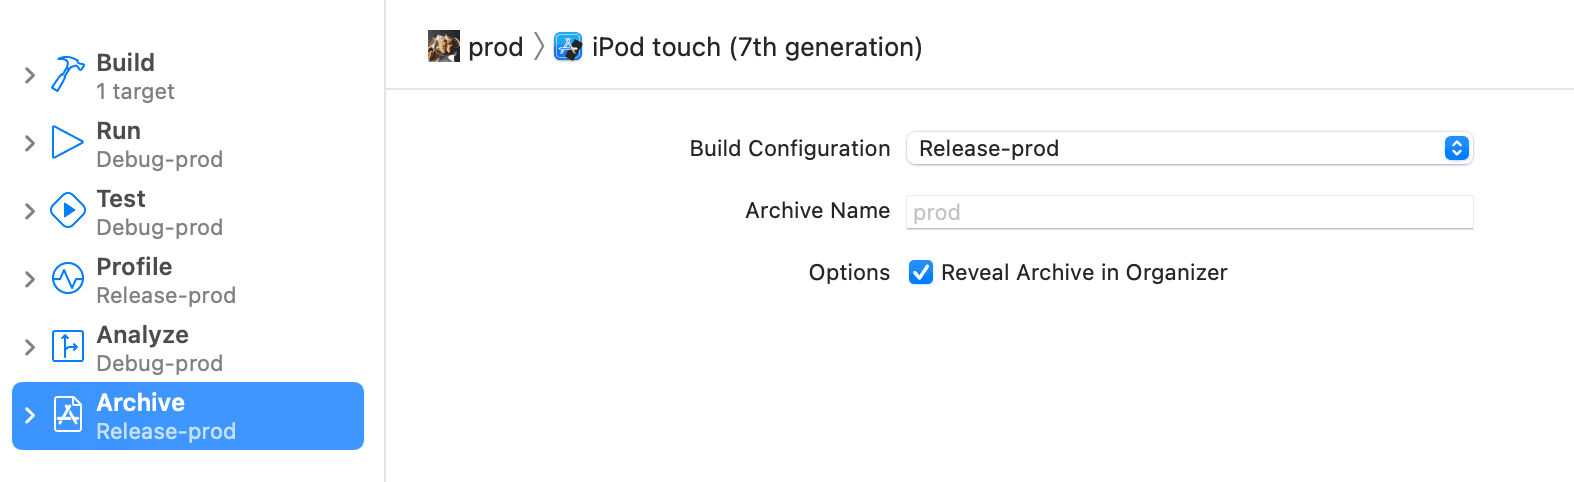
- Go to Product -> Scheme -> Edit Schemas for Matching Buid Configuration for each (build, run, test, profile, analysis, archive).
- Runner(Targets) → search for Product Bundle Identifier → add flavors suffix values with matching keys, such as below:
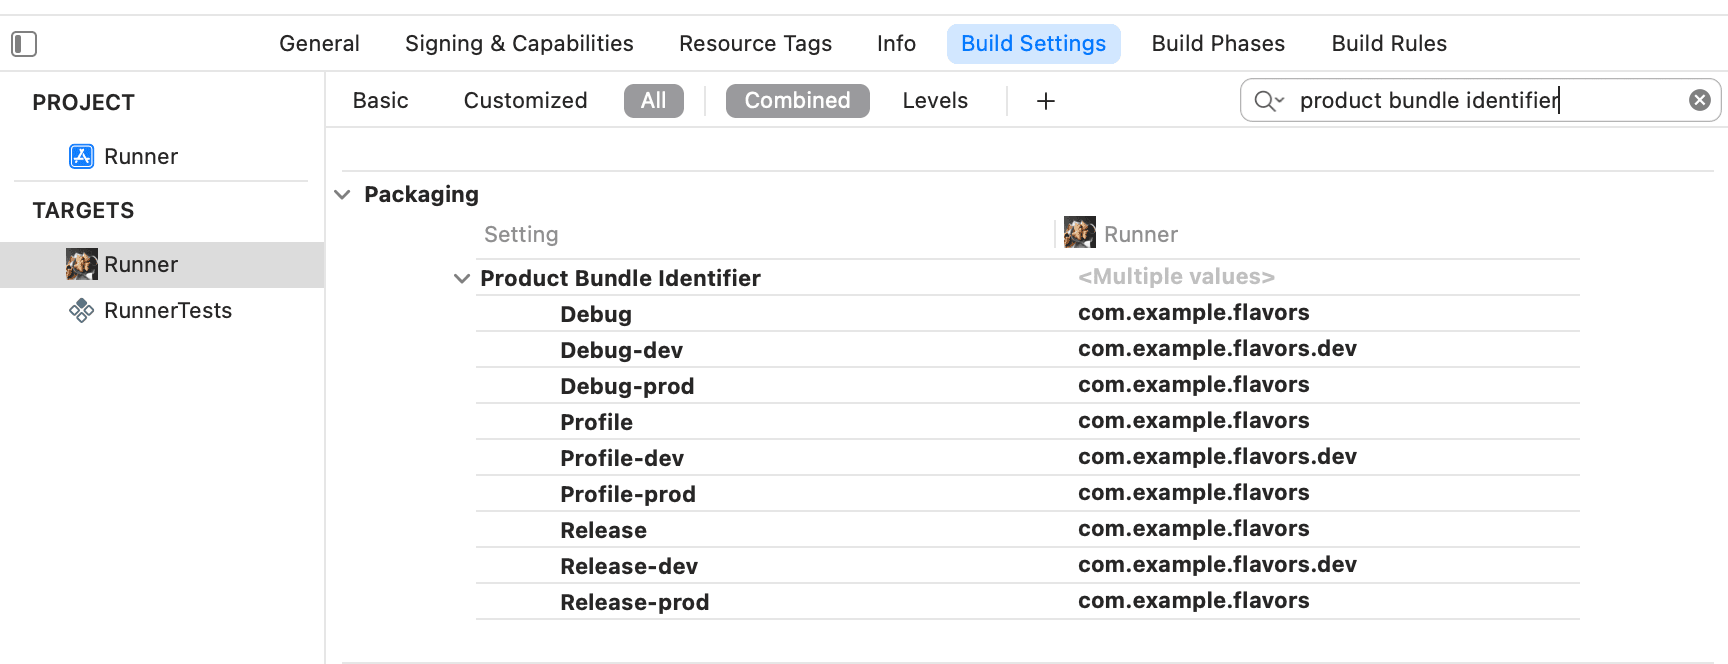
- add bundle identifier at info.plist file: such as $(PRODUCT_BUNDLE_IDENTIFIER), below mentioned:
Flavors Setup Done Here.
Flavors App Icons Configurations:
flutter pub add flutter_launcher_icons
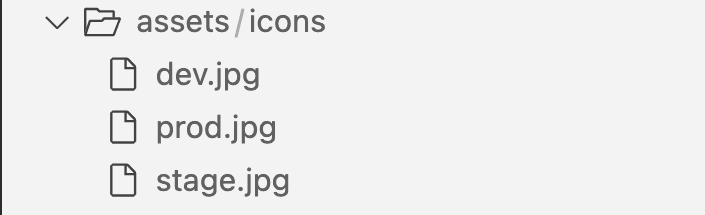
- add Asset images at project root directory for each flavors i-e prod.jpg.
- Create yaml files at project root directory for each flavors:

- Run the below command for auto generate icons for both android and ios:
flutter pub run flutter_launcher_icons:main -f flutter_launcher_icons*
- Android: Above icons config is enough.
- iOS: Required More Customisations:
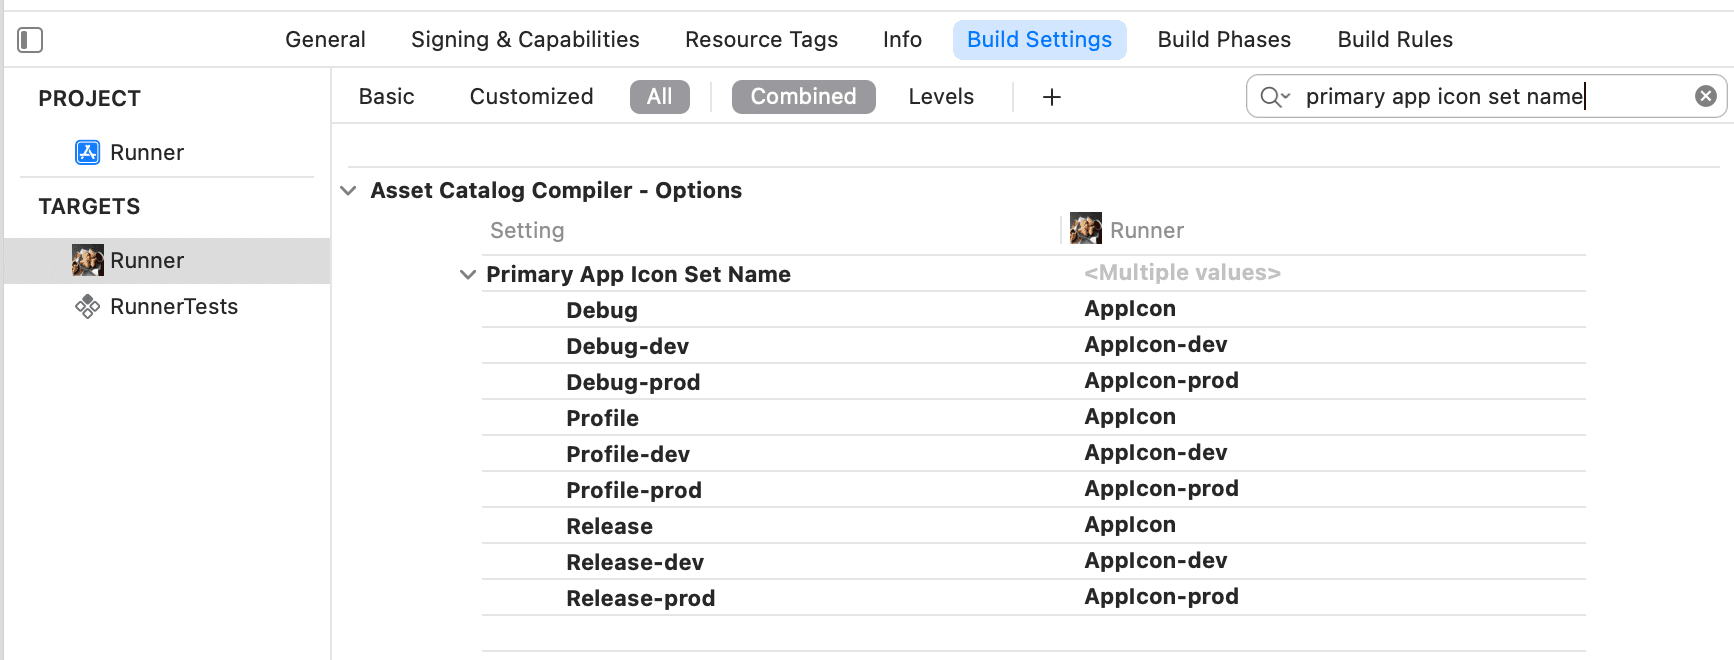
- Assets appicon. names is required for (Primary App Icon Set Name) → mentioned at fig(2). below.
fig(1).
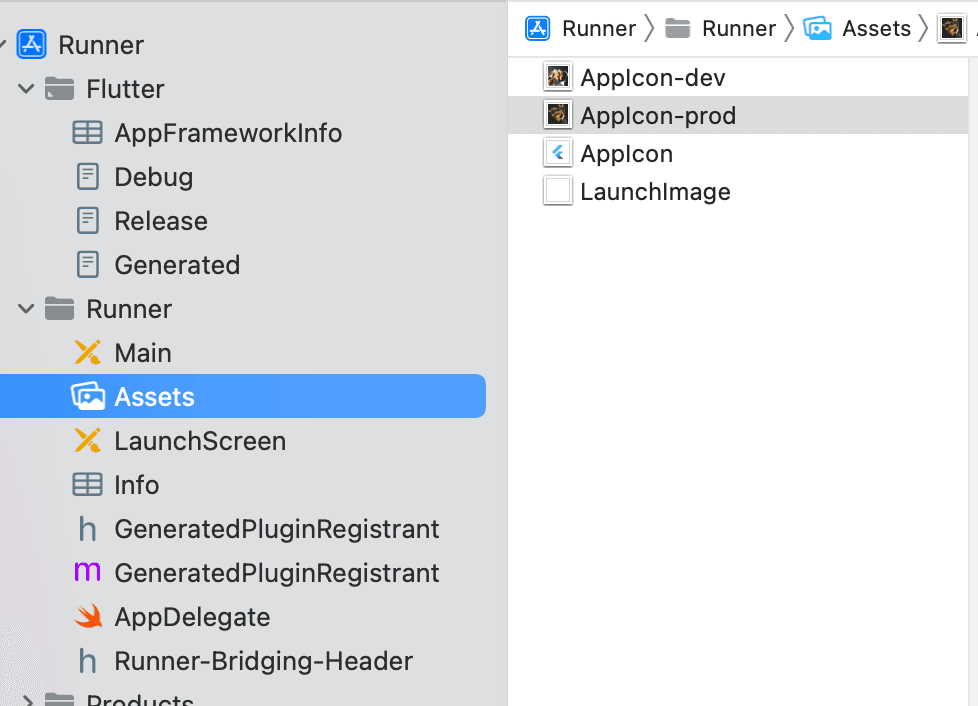
- Runner(Targets) → Buil Settings → search for Primary App Icon Set Name →** add **the above Assets AppIcon for each keys (Debug, Profile, Release) such as Debug-dev → AppIcon-dev .. below mentioned:
fig(2).
Flavors App Names Configurations:
Android:
- go to →
android/app/src/main/AndroidManifest.xml - change android:lable to "@string/app_name" ... below mentioned at Fig(1)
Fig(1)

- go to →
android/app/build.gradle - add app_name inside resValue of flavors configuratiion. below mentioned at Fig(2).
Fig(2)

iOS:
- add usr-defined setting for app name such as i did below in fig(1).
- above '+' icon in fig(1) for creating user-defined setting.
Fig(1).
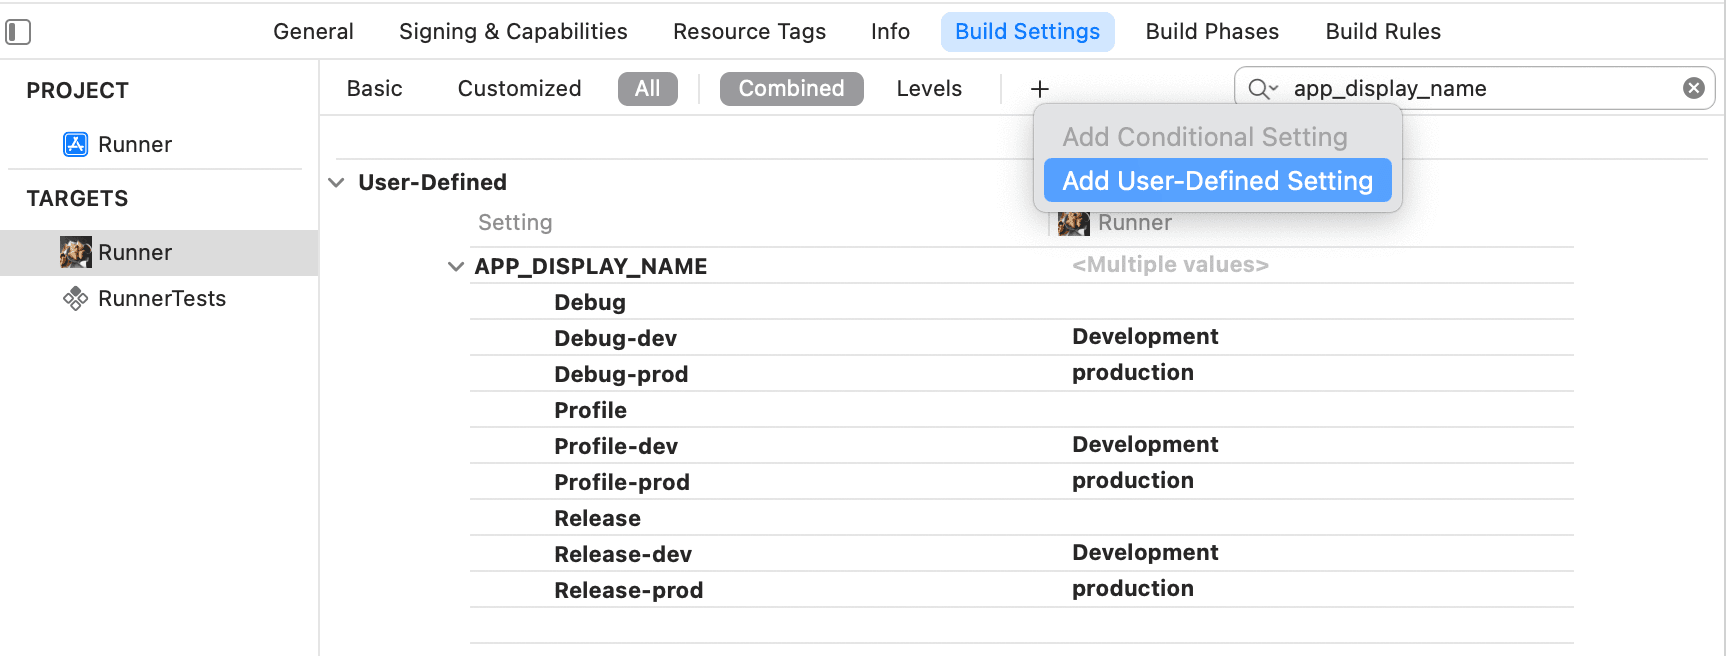
- at the end add fig(1). APP_DISPLAY_NAME to info.plist. below in fig(2) mentioned.
Fig(2).

Output:
Finally, we are done here the output for both android and ios are represented below:
Android:
| Development | Production | Both With Icons |
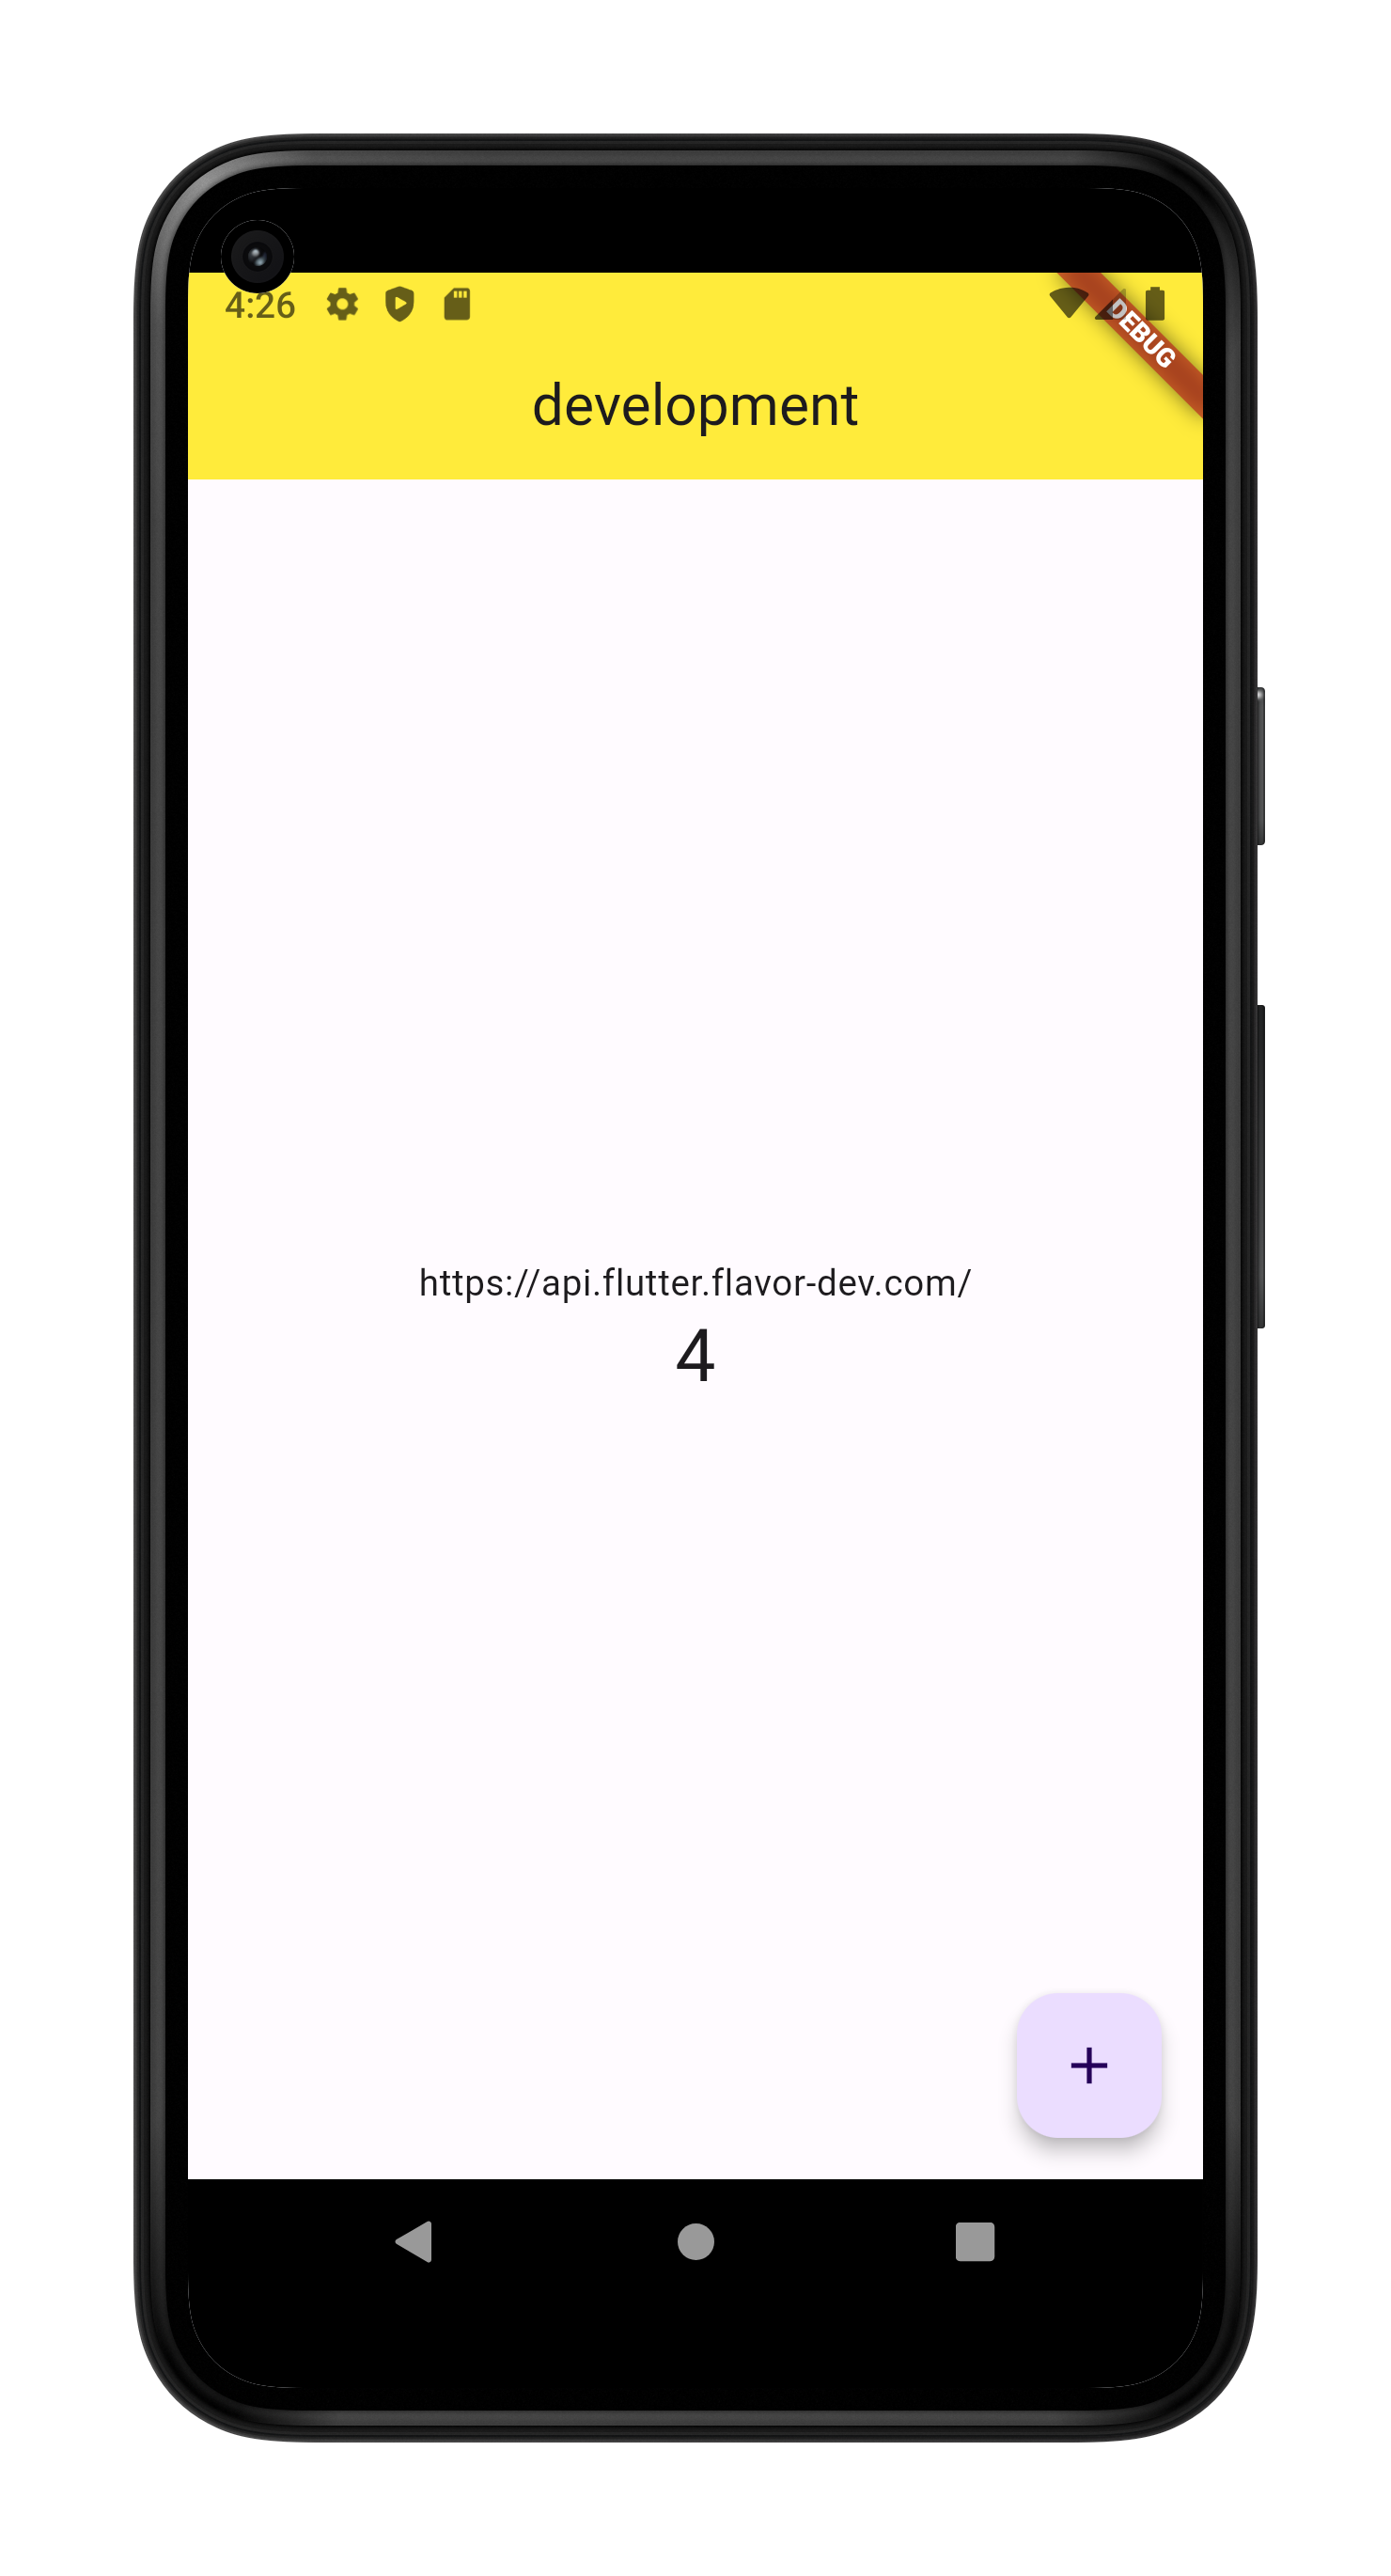 | 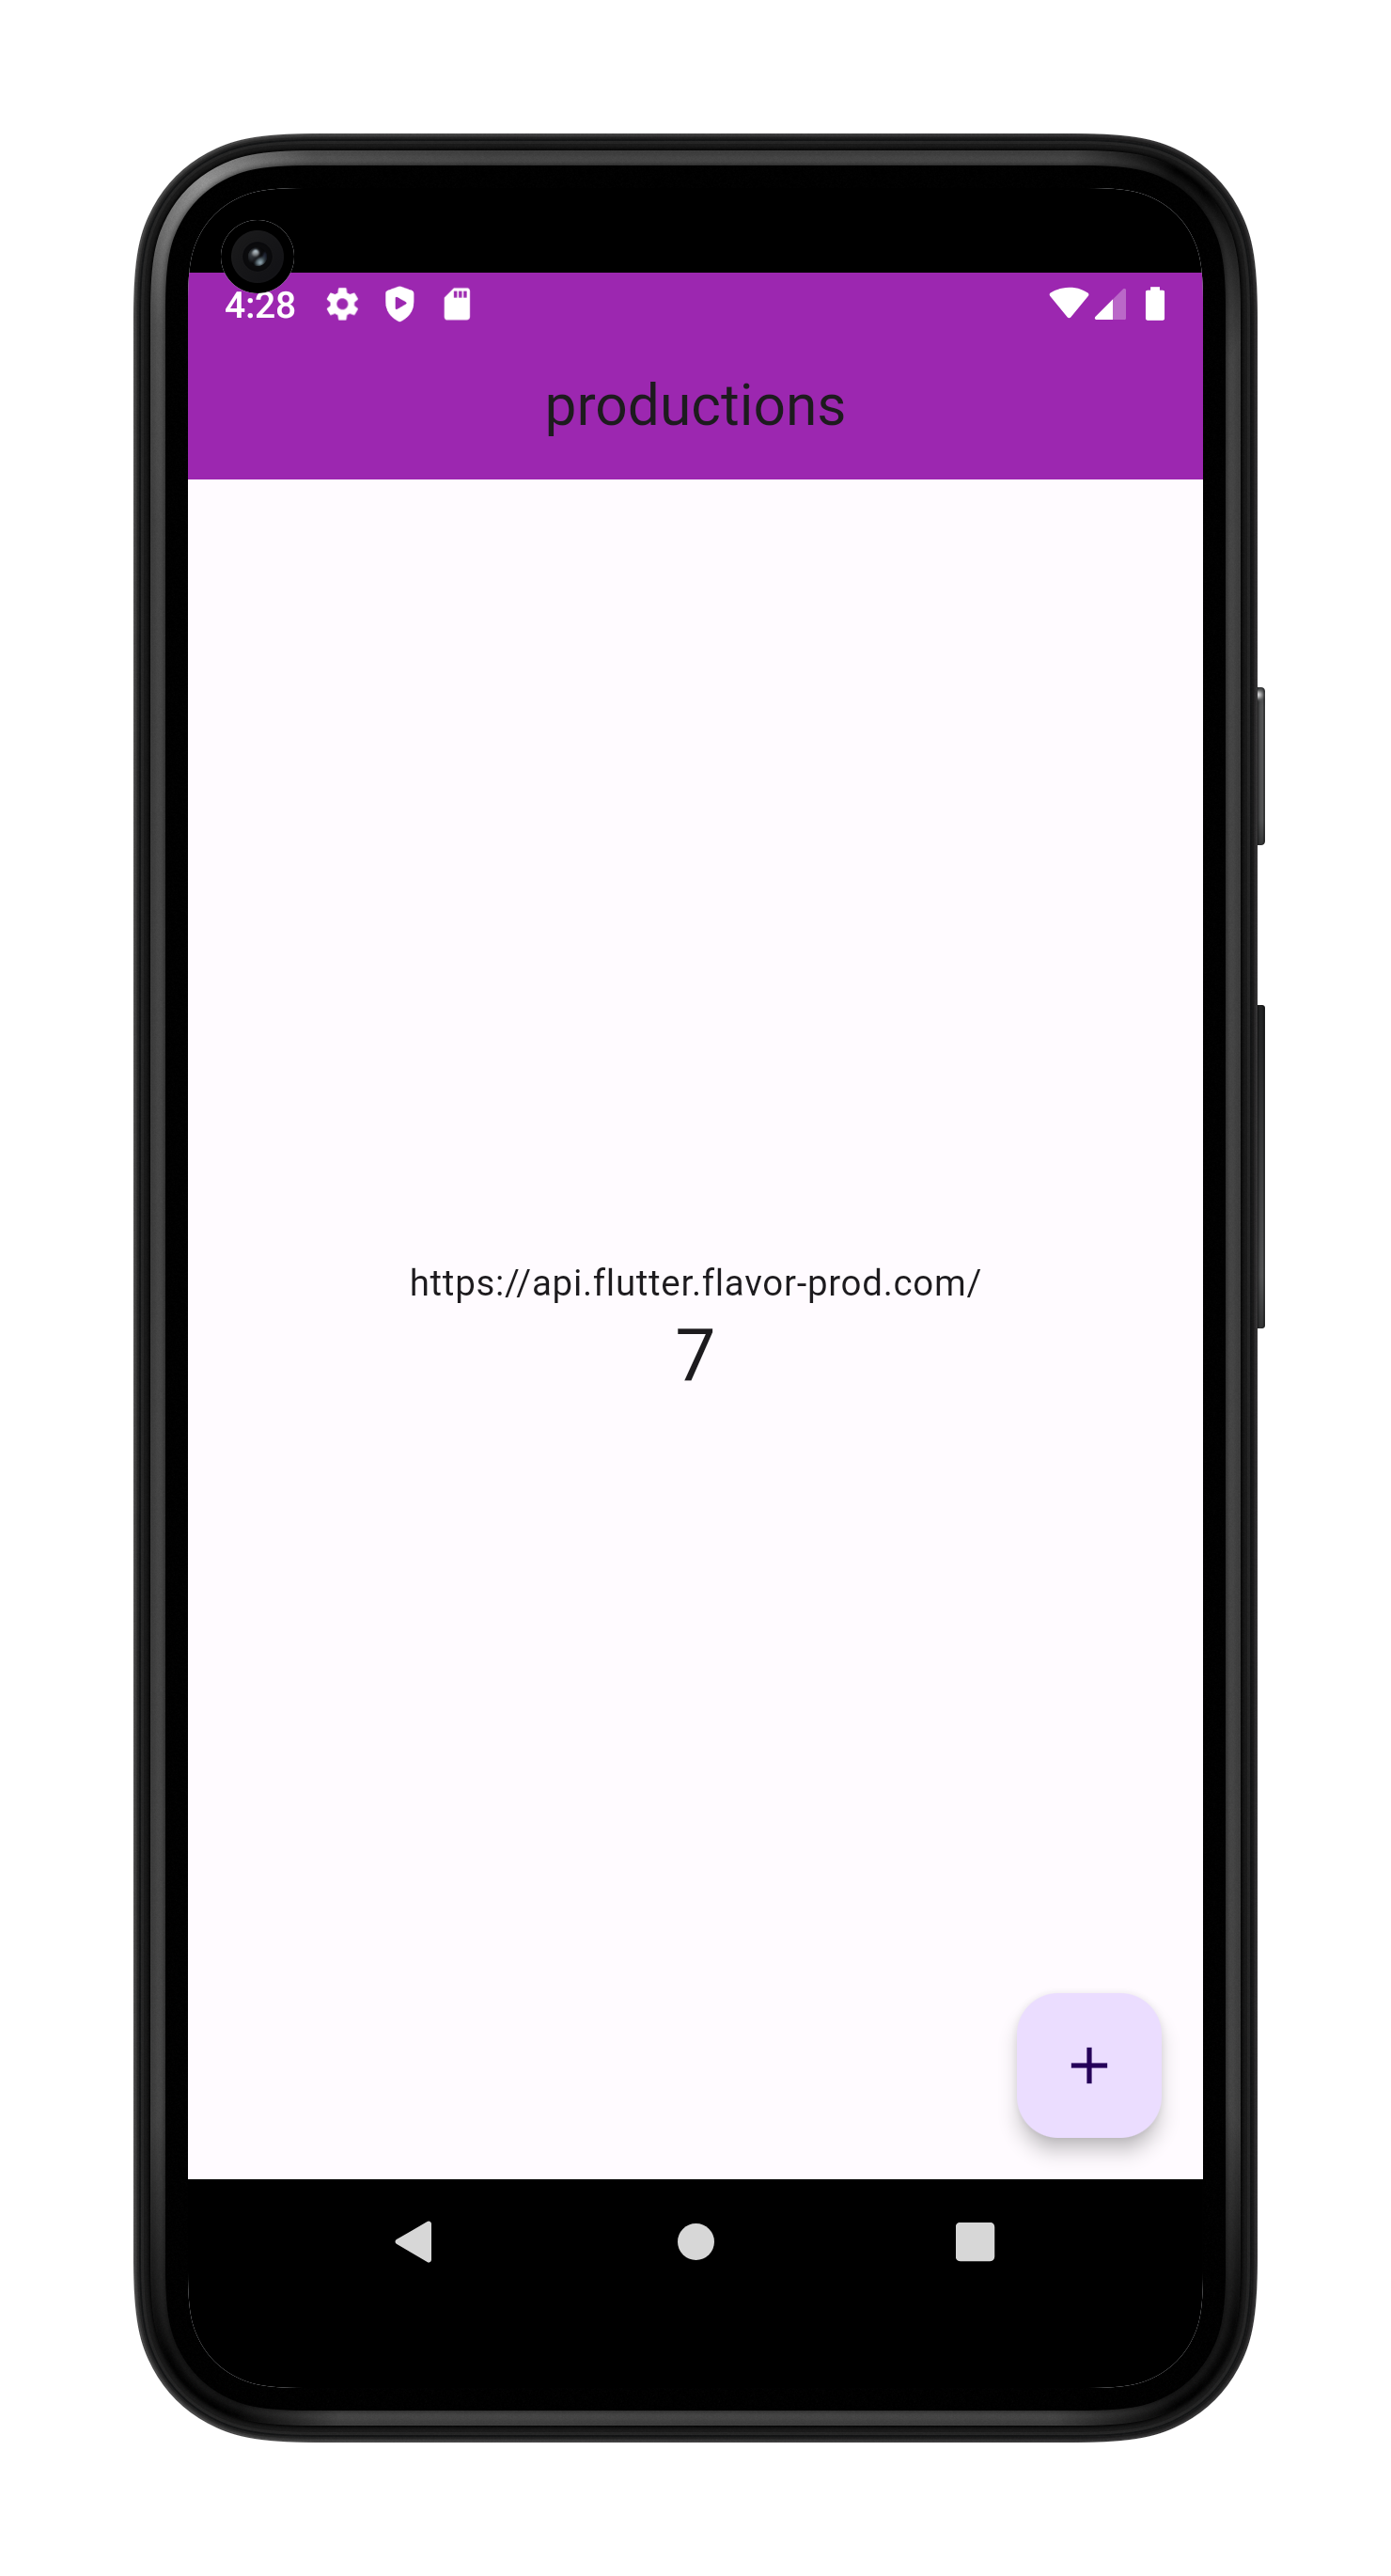 | 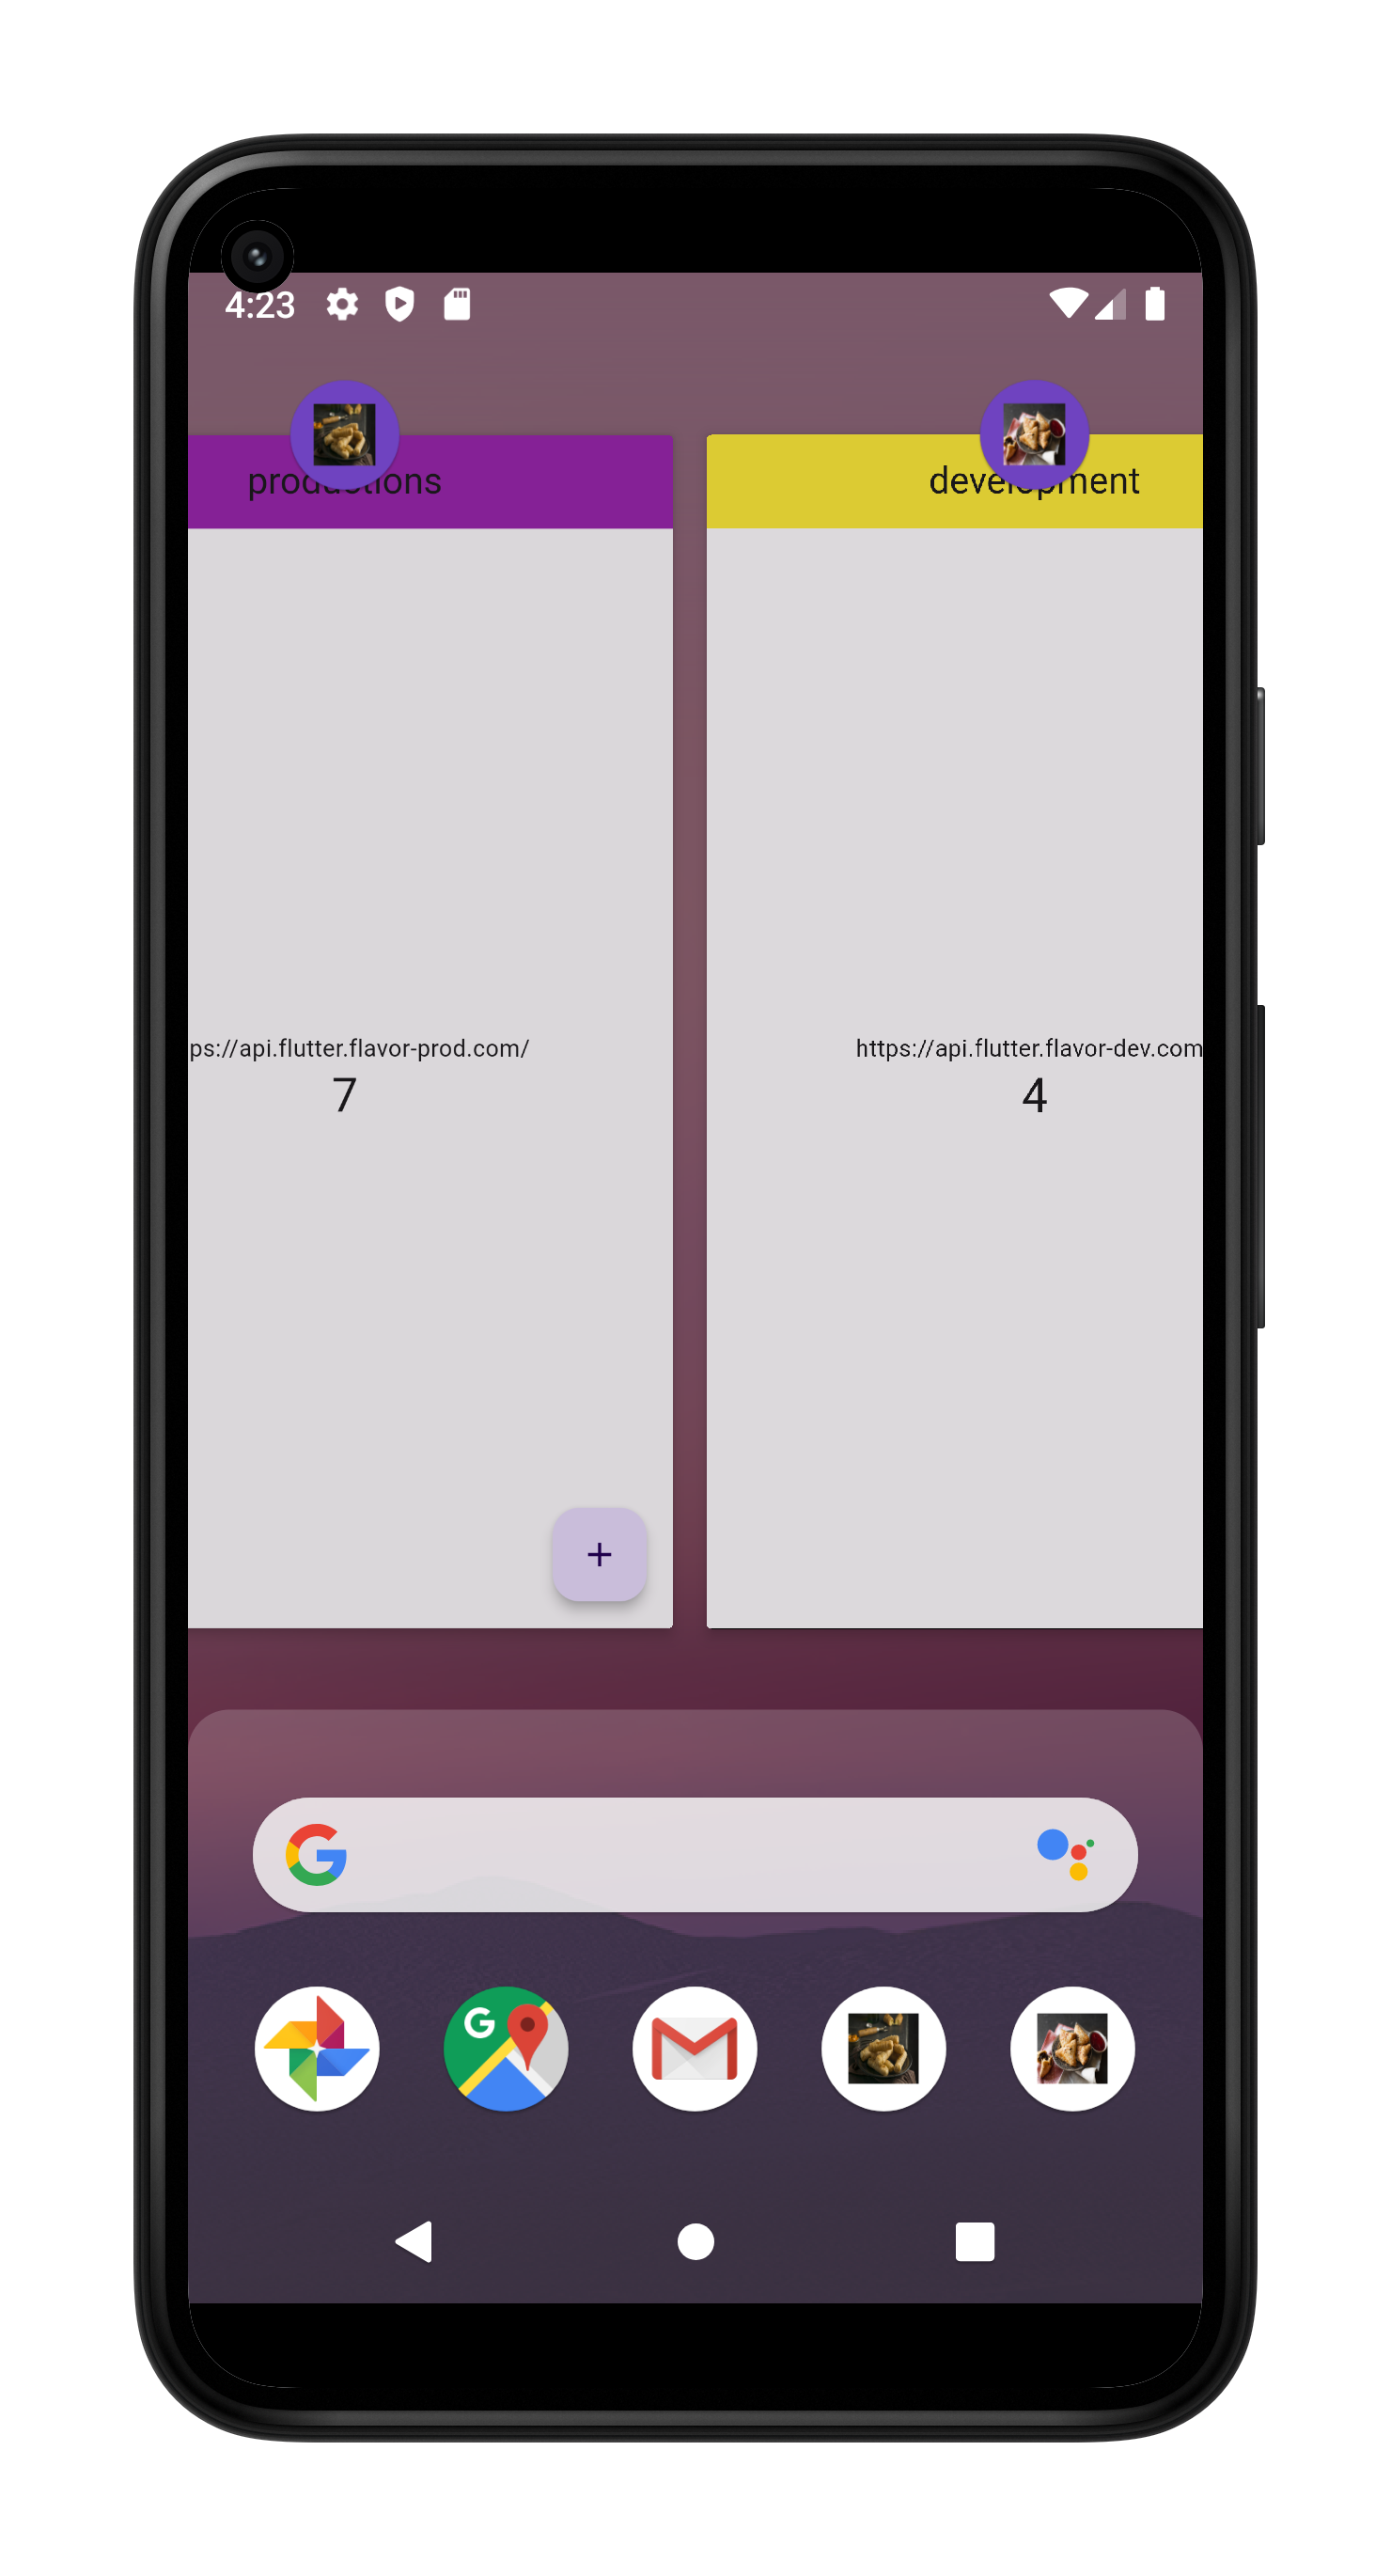 |
IOS:
| Production | Development | Both With Icons |
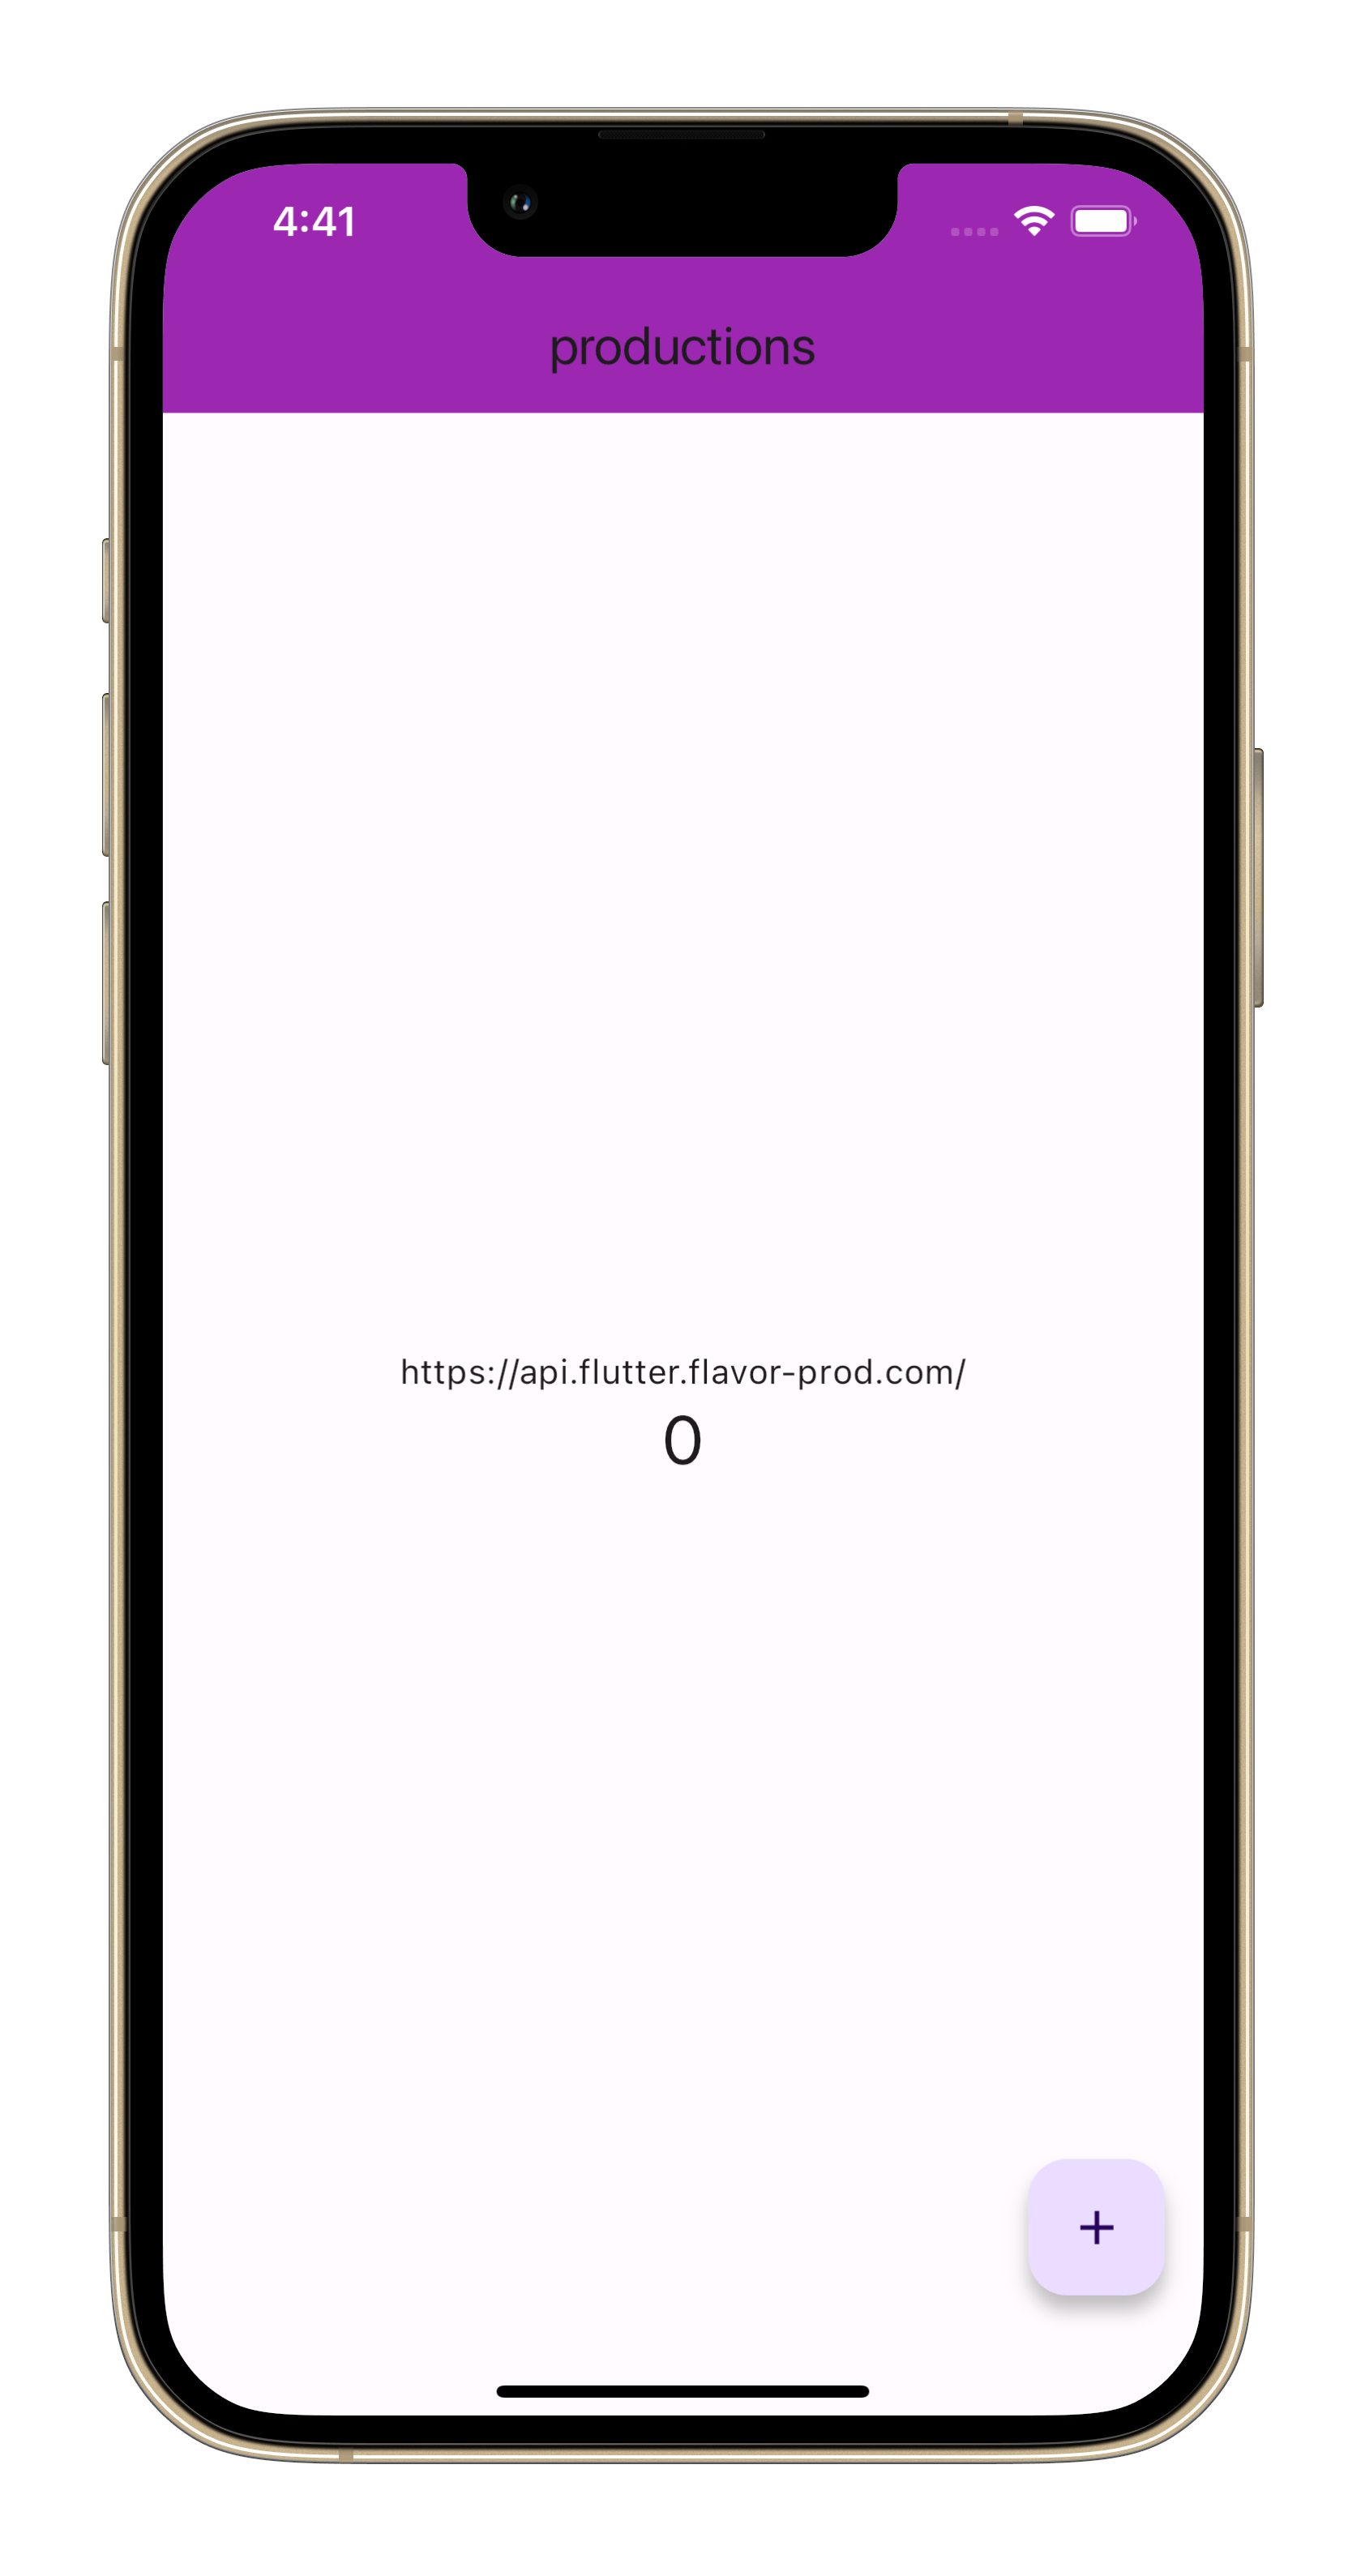 | 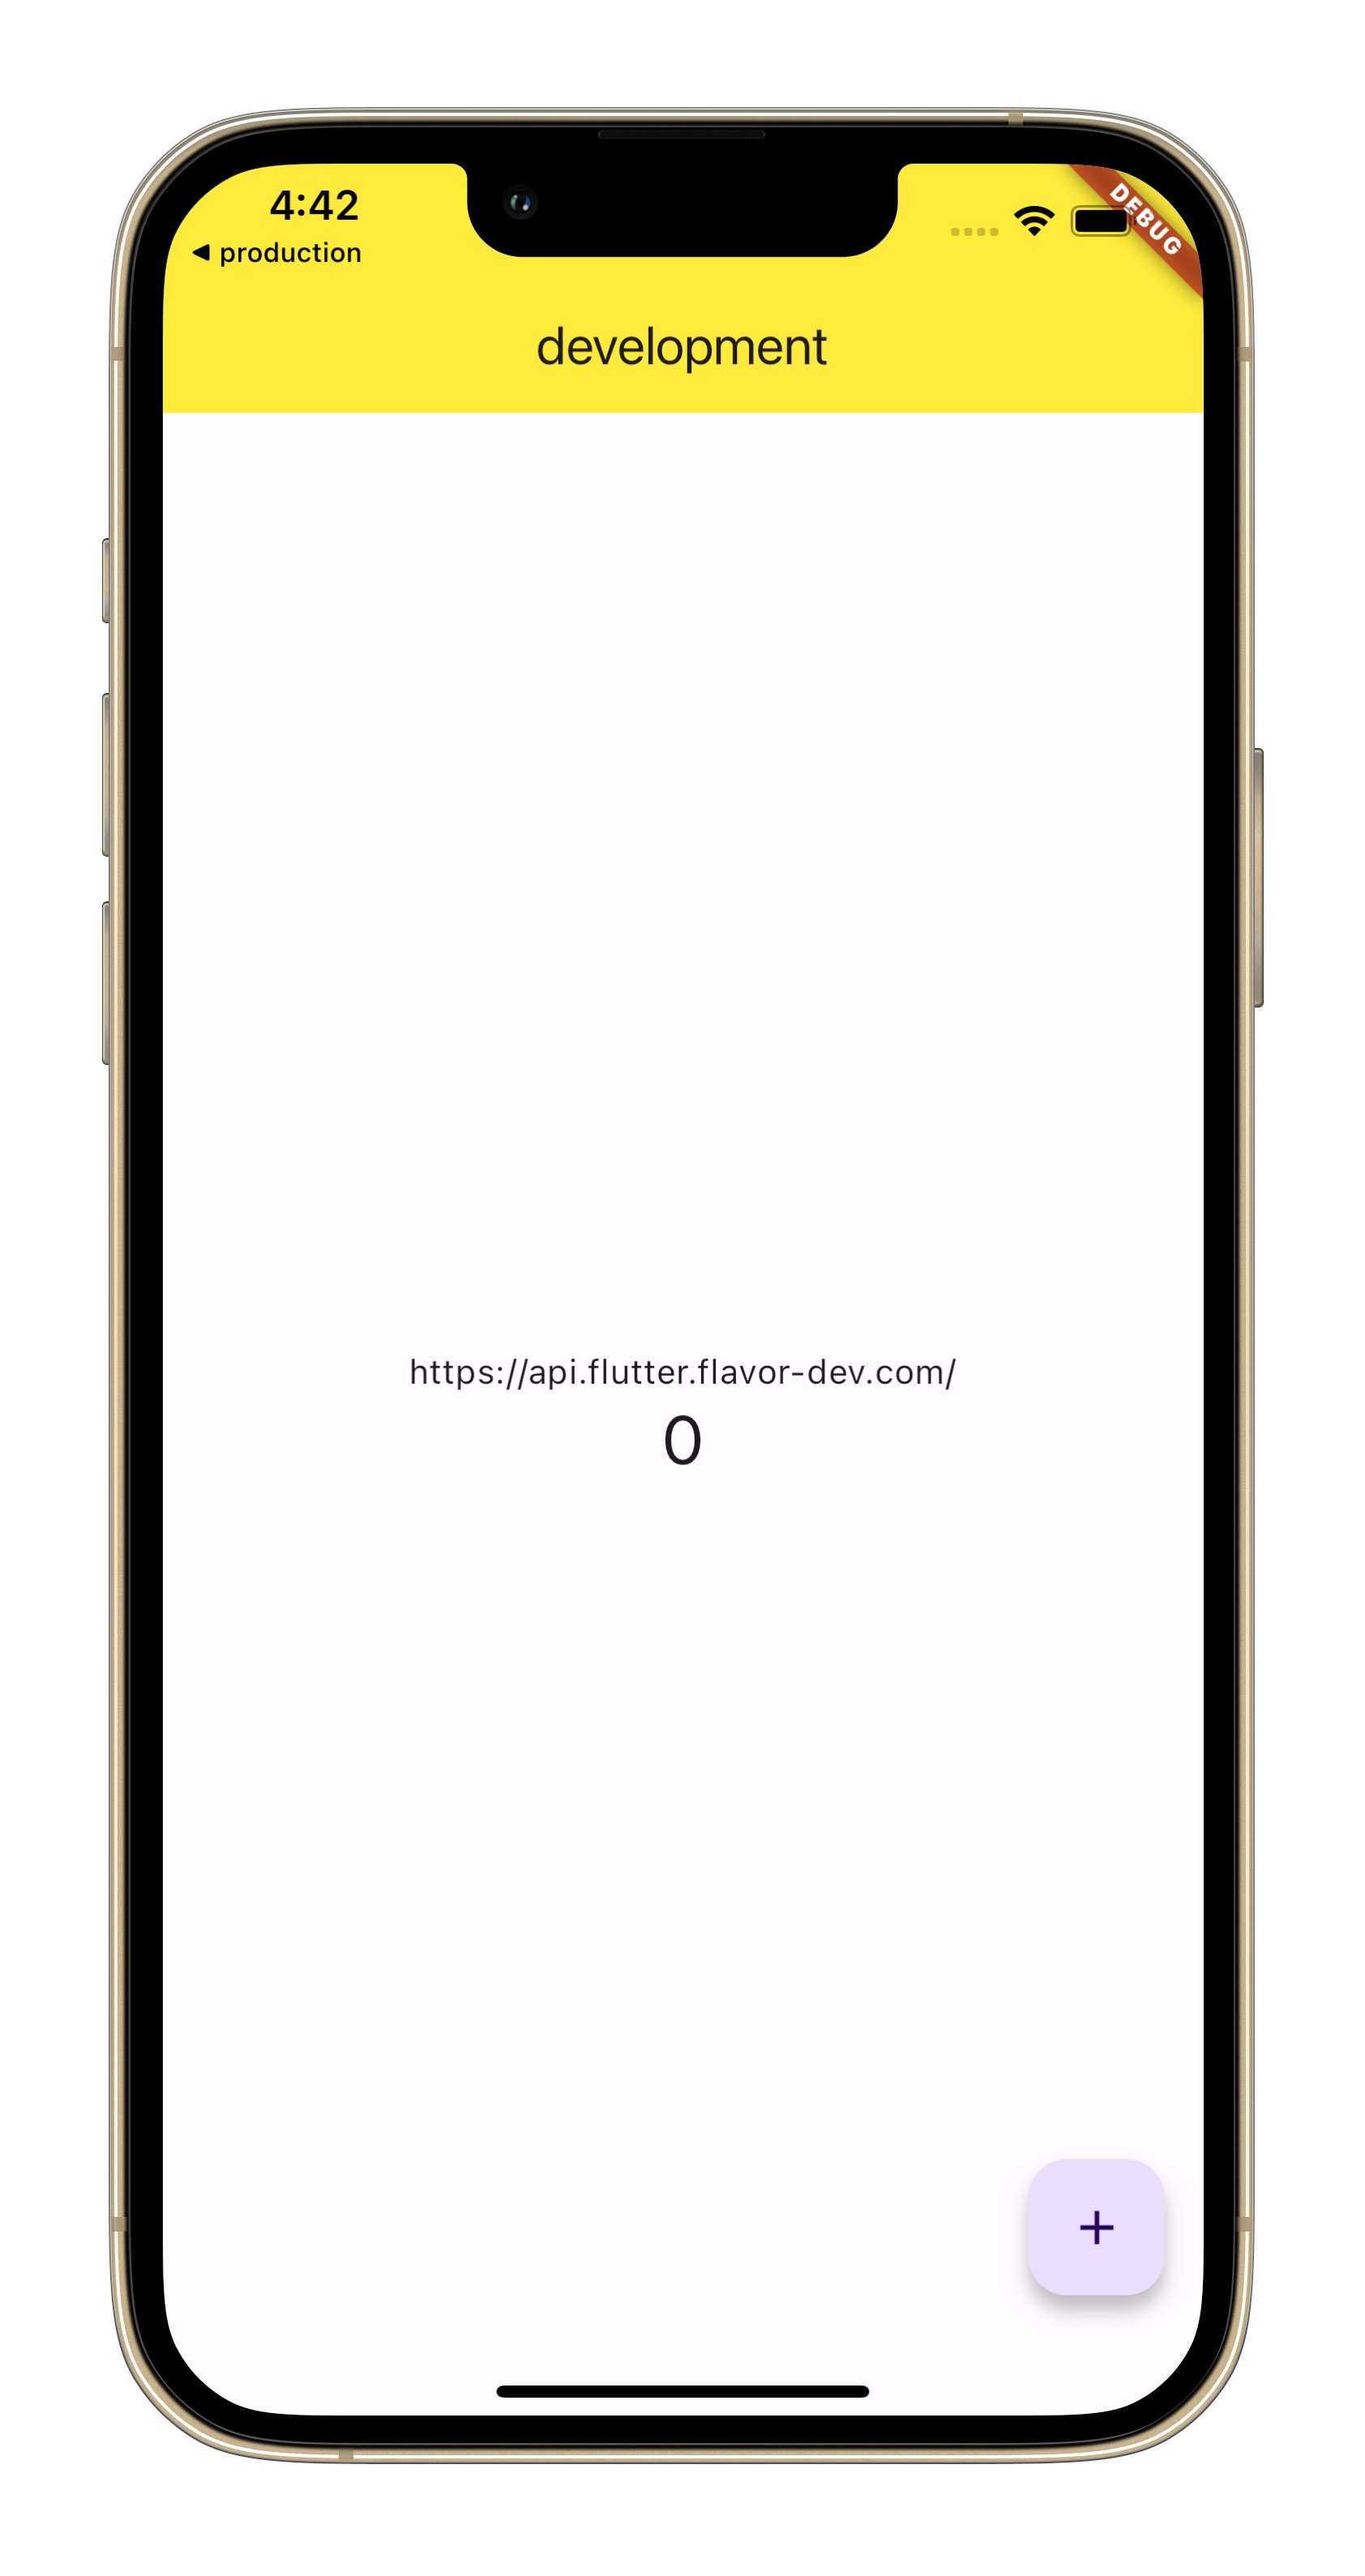 | 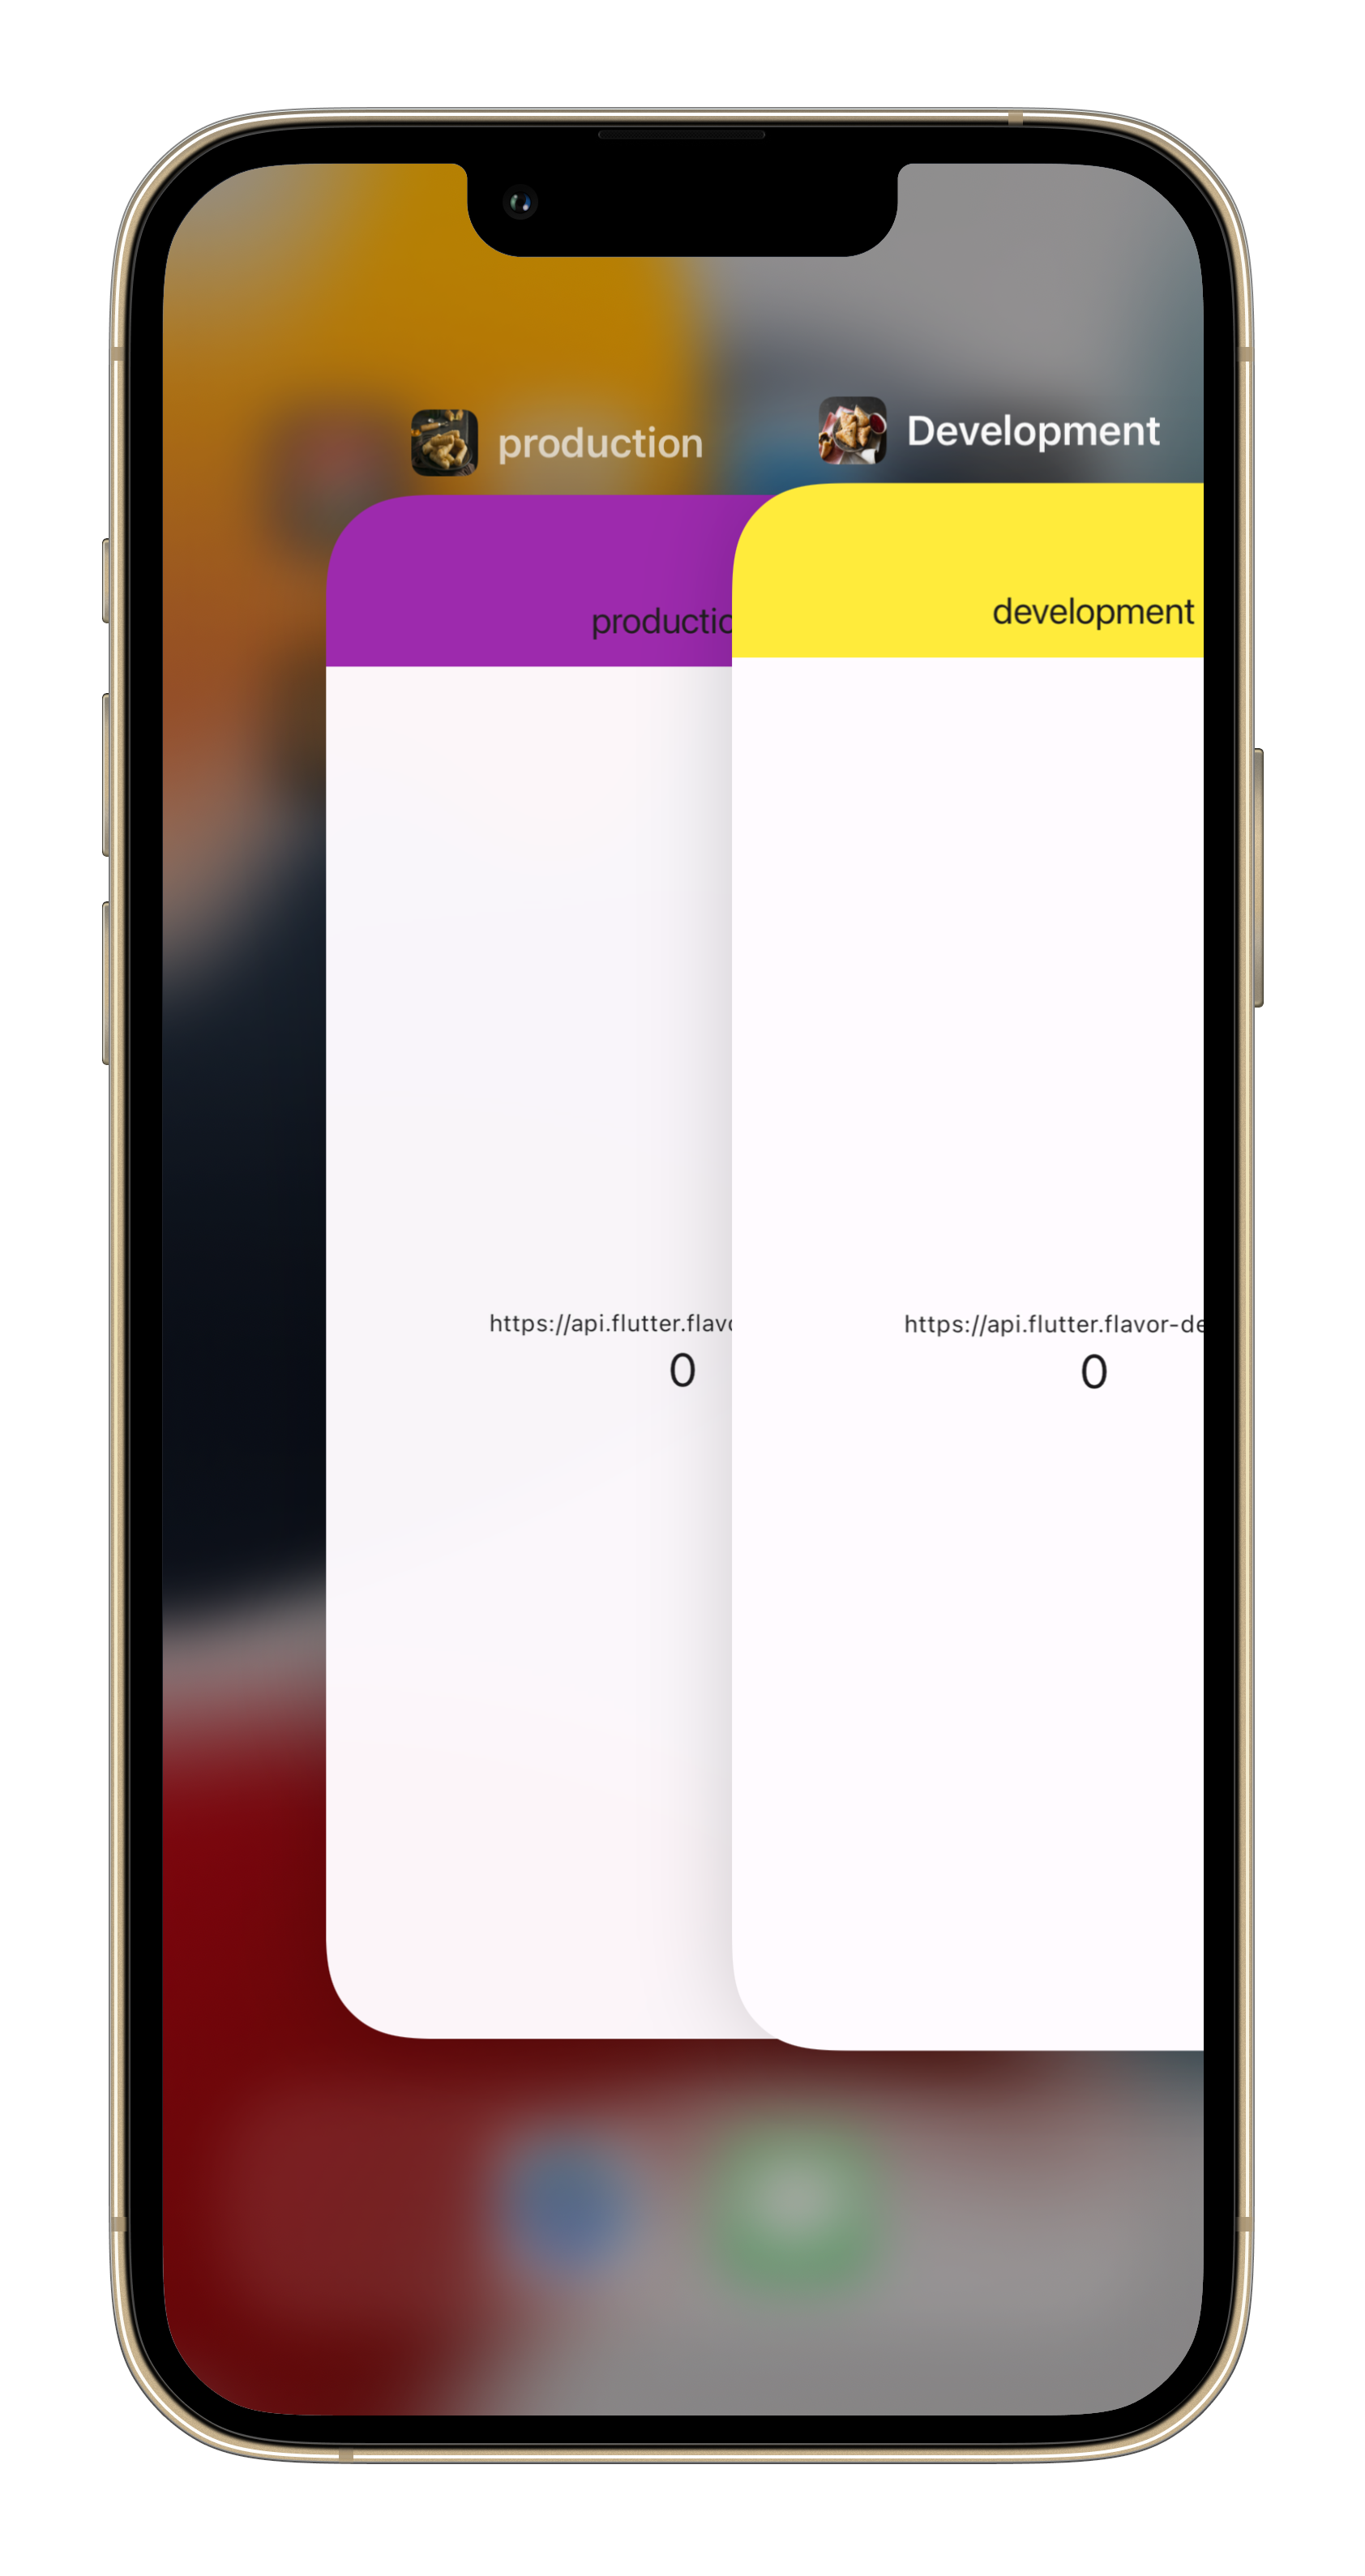 |
Conclusion:
Flutter flavors are a game-changer for managing complexity in your Flutter projects. By embracing flavors, you can ensure efficient development, streamlined workflows, and the ability to deliver exceptional applications that cater to diverse needs.